In the previous articles, we have presented some basic methods to remove the background of the image with Adobe Photoshop and some other tools, but besides, have you thought you can do that job by using PowerPoint 2010? Please continue to read this article to know a simple way of background removal. Here’s how to do it.
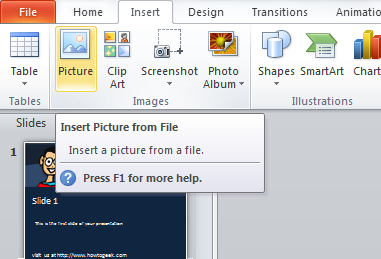
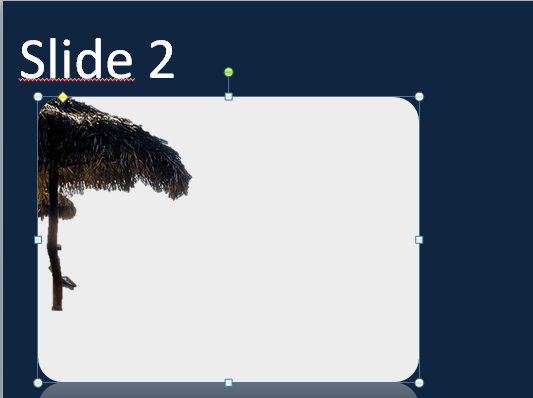
For example, we can try opening a existed PowerPoint file or creating a new, then insert the image by using command: Insert>Picture>Insert Picture from File
Then, open the ‘’Format Picture’’ tab and click to ‘’Remove the Background’’
You can notice one point that PowerPoint does this job quite well or are not depend on different color areas in the picture, it identifies the background and covers the purple on it.

If you need to optionally fix a little bit, you can try to use “Mark Areas to Remove” and select the rest area to need to be handled in the picture.
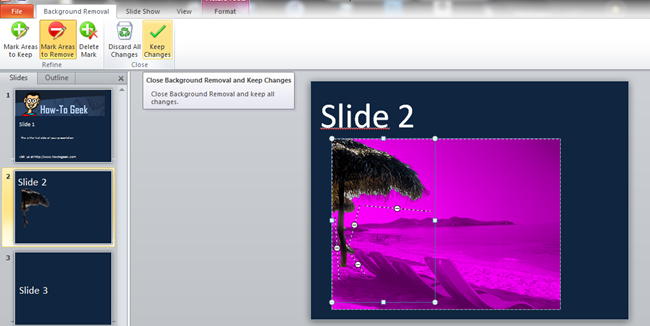
Once finished, click “Keep changes’’ and the entire selected area will be deleted.
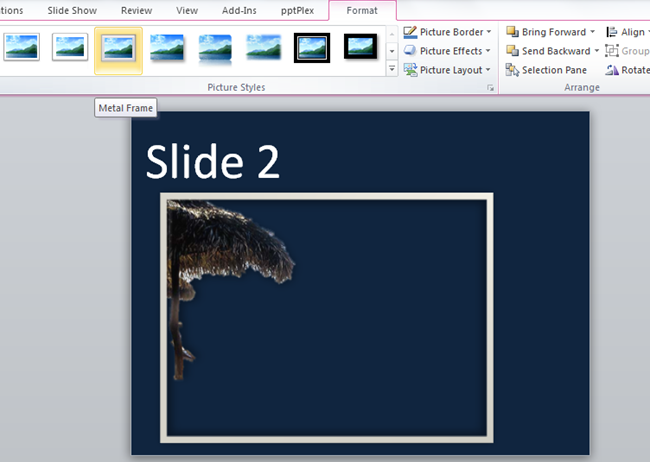
Pretty easily, with just a few simple actions, we have finished the work. Of course, this background removing process can be only applied to the photo which textures and background are not too complicated
Pretty easily, with just a few simple steps, we have finished the work. Of course, this background removing process can be only applied for the photos of which textures and background are not too complicated.
Good luck!