 In this tutorial, we will learn basic steps to whiten teeth.
Using Pen tool with Color Balance and Levels, you will have a perfect picture.
Here is original photo: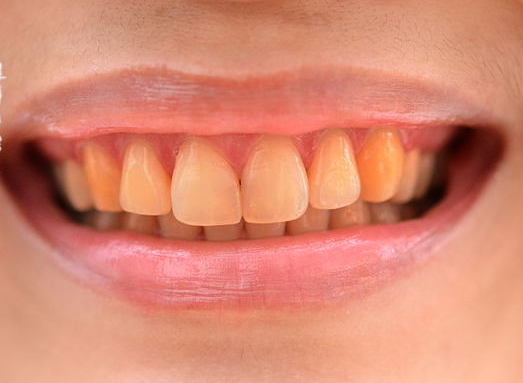 You need remember always use the high-quality resolution photo. To start, you can use your original photo. If you do not have a photo, you can buy a high-resolution photo on some website such as Shutterstock…
Make the sure photo with more than 1 MB.
Are you ready? Let’s start!
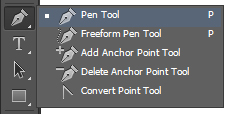
Step 1:
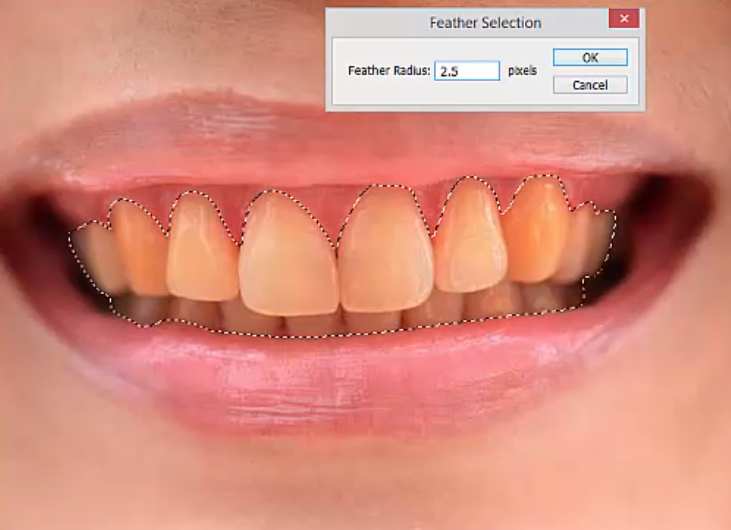
Using Pen tool for choosing an area where need work.
 Press Ctrl+Enter
Select Select -> modify -> feather(shift +F6), Feather Radius 2.5
 Step 2:
Press double area with Ctrl+J
Or Drag Background layer to Create a new layer.
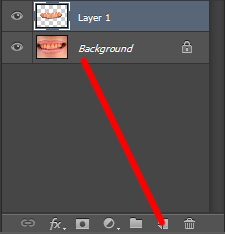
Now we have separation layer
Step 3:
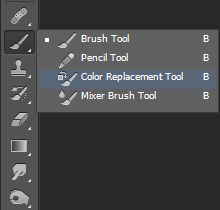
Using Brush Tool -> Color replacement tool.
Use white color and scan all teeth area.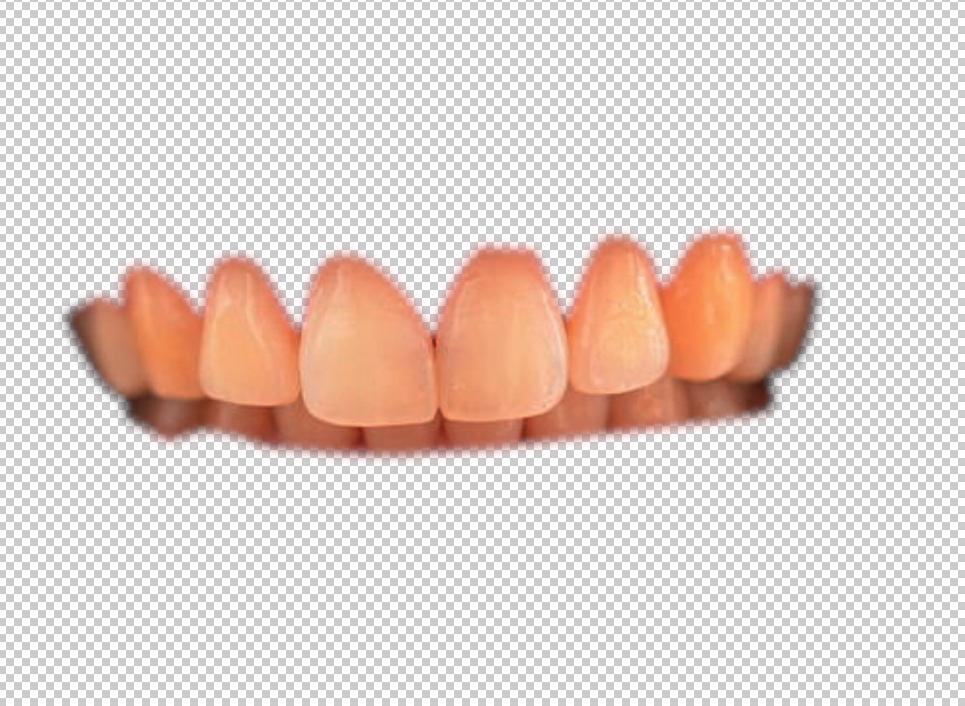
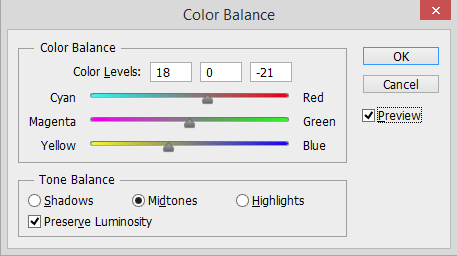
 Continue select Image -> Adjusments -> Color balance and adjust parameters to make nutural color.
 Step 4:
Continue select Image -> Adjustments -> levels and adjust the black area.
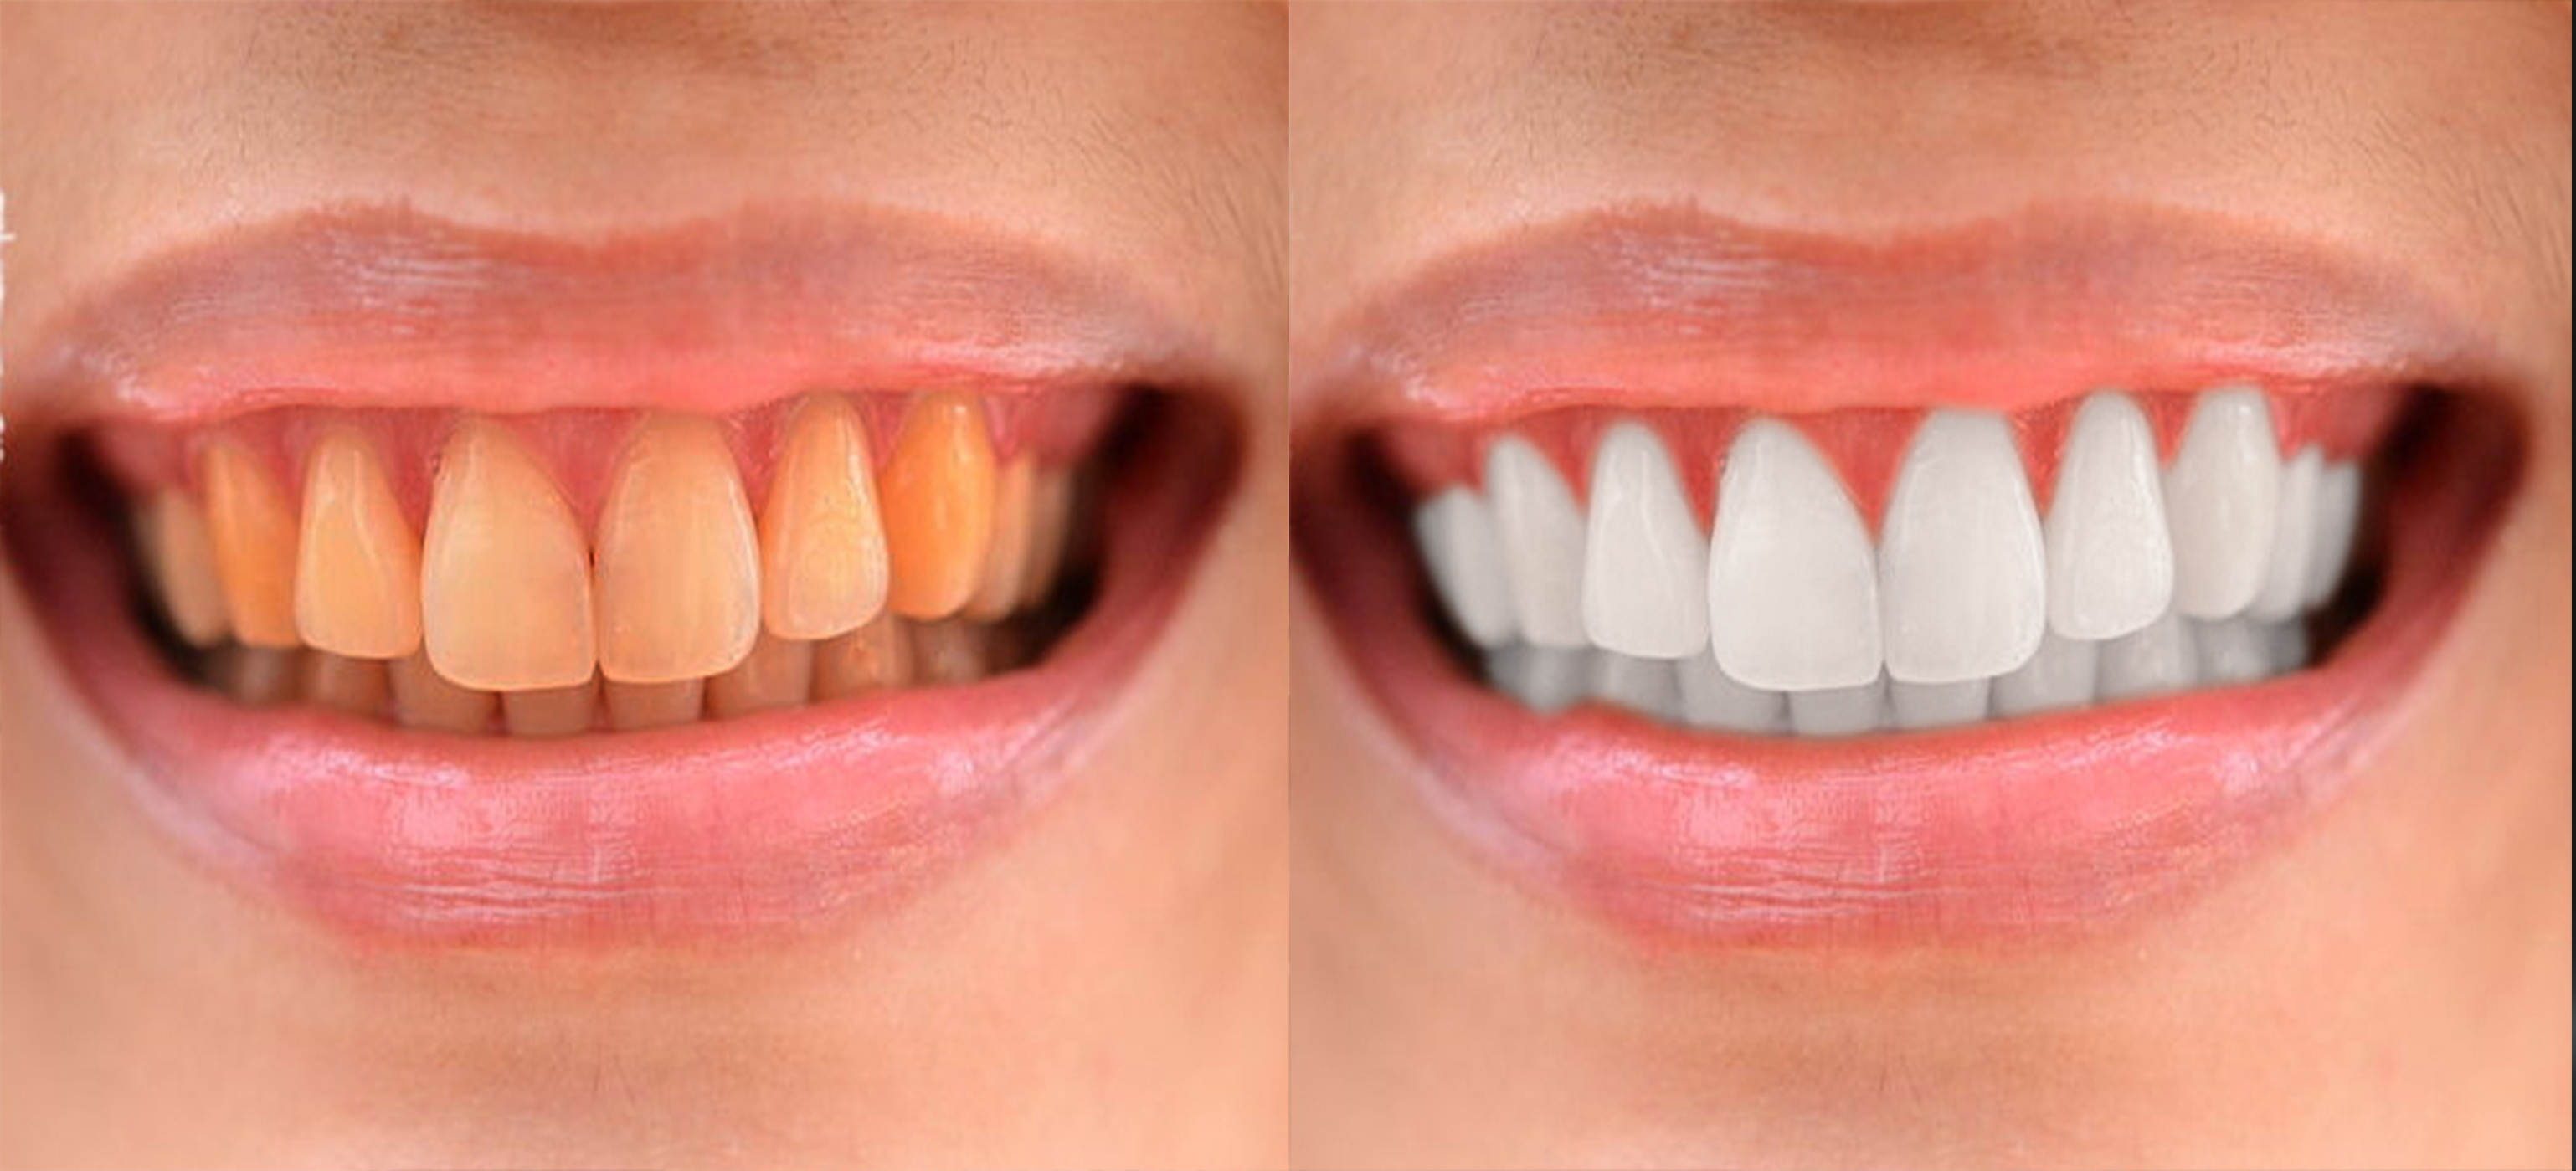
 Finish ! This is a result.
Follow this link to see how its work 🙂
Thanks for reading. Good luck!